
How to Clean and Dress a Wound: Emergency Wound Care for 2026
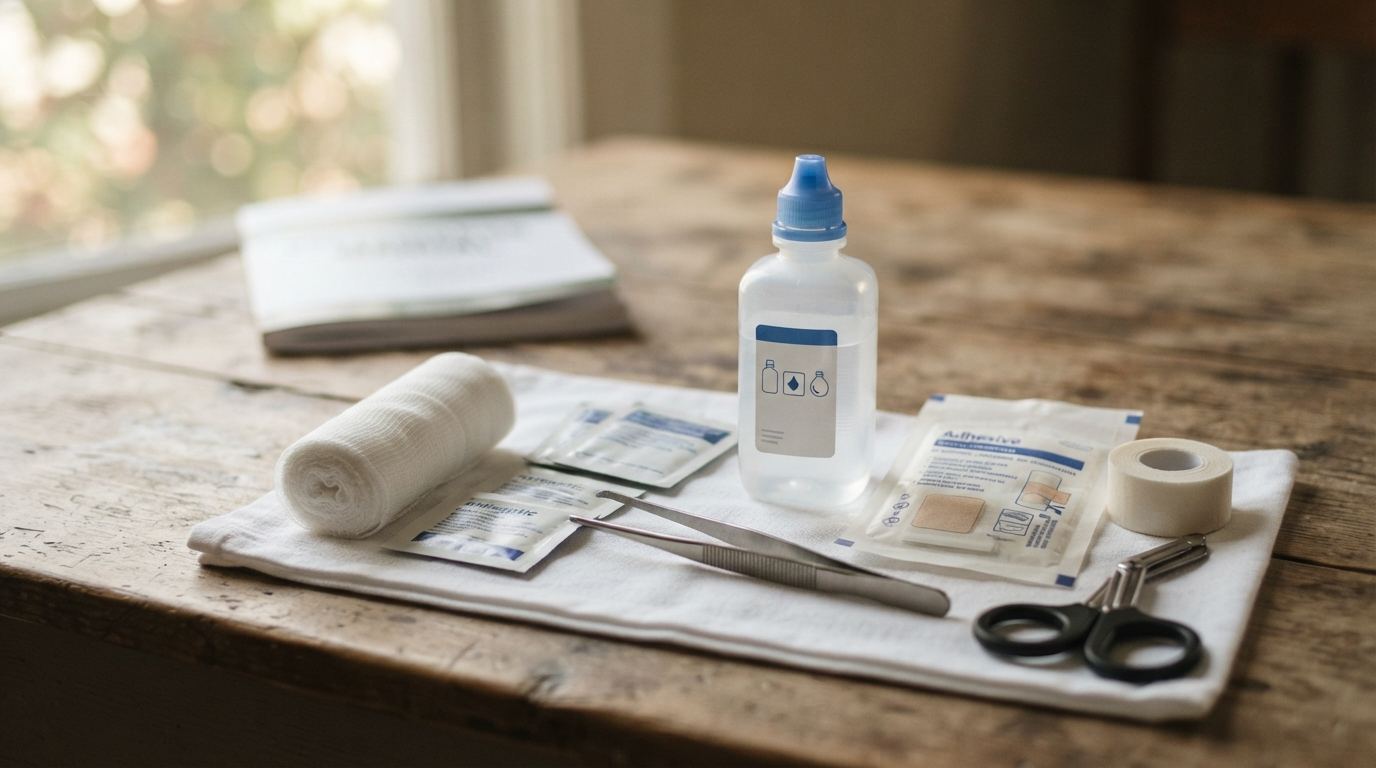
How to clean and dress a wound in an emergency: flush it, dress it, and catch infection early. Step-by-step wound care for cuts and scrapes, with kit picks.
This article contains affiliate links. If you buy through these links, we may earn a small commission at no extra cost to you.
Most emergency wound care is boring, and that is the point. You flush the cut with clean water, put a clean dressing over it, and check it twice a day for signs of infection. Done right, that routine keeps a small cut from becoming a doctor visit when urgent care is two counties away or the pharmacy is closed. If blood is spurting or pooling, this is the wrong guide for that moment: go to our how to stop severe bleeding guide. For other wounds, here is exactly what to do.
When This Guide Applies (and When It Doesn't)
This guide covers cuts, scrapes, punctures, and shallow lacerations you can control with pressure: the injuries you pick up clearing debris, cooking in the dark, or repairing a roof after a storm. It does not cover wounds that expose muscle or bone, wounds to the face or neck, or anything that keeps bleeding through a firmly held dressing; those need care you should not attempt at home.
Step 1: Clean the Wound Within Minutes
Dirty wounds get infected; clean wounds rarely do. The number one mistake is skipping the rinse and going straight to a bandage.
- Flush for 3 to 5 minutes with clean water. Running tap water is fine; if there is no tap, use bottled, boiled-and-cooled, or filtered water. Pouring from a full bottle creates enough pressure to push debris out.
- Wash around the wound with mild soap, not inside it. Scrubbing the open tissue tears more of it and pushes dirt deeper.
- Pick out stubborn debris with tweezers wiped in rubbing alcohol. A fine-pointed pair like the First Aid Only Stainless Steel 3 Inch Tweezers costs about $6 and grips a splinter without collateral cuts. Wipe the tips with Amazon Basics 91%… first: 91% dries fast with no residue on tool tips, and one bottle per kit beats sharing one across three. Leave anything you can't get in one clean pass rather than digging.
- Pat it dry with a clean cloth or sterile gauze; do not rub.
Step 2: Put On a Dressing
- Apply a thin layer of antibiotic ointment or plain petroleum jelly. The 1 oz tube of Neosporin Original Triple Antibiotic Ointment, 1 oz is the brand-name pick: bacitracin, neomycin, and polymyxin B for 24-hour protection. For a clean minor wound, petroleum jelly works at a fraction of the price.
- Cover with a non-stick pad or sterile gauze square, held with medical tape or an adhesive bandage sized so the pad is bigger than the wound. A too-small bandage lets the wound edge stick to the glue.
- Keep it moist but not soaked. A lightly moist wound heals faster and scars less than one left to dry into a crust. Change the dressing if it gets wet or soaked through.
- Match the size to the job. A superficial scrape takes a simple adhesive bandage; anything bigger takes a pad and tape.
Step 3: Check It Twice a Day
A dressing is not set-and-forget: change it morning and night, or any time it gets wet or soiled. When you change it:
- Wash your hands, remove the old dressing, and look at the wound.
- Gently clean away any new crust, reapply ointment, and put on a fresh dressing.
- Let very superficial scrapes air after the first day if clean; deeper cuts stay covered while closing.
Signs of Infection (and When to Get Help)
Most cuts heal without any of this, but know the signs before you need them. Get medical attention if you see:
- Redness that spreads beyond the wound edge. A thin pink ring right around the cut is normal; spreading red is not.
- Pain or swelling that gets worse two or more days after the injury.
- Warmth that feels hot against the back of your hand.
- Pus or foul-smelling drainage, red streaks on an arm or leg, or a fever.
If a wound over a joint stops you moving it, do not wait it out; that is escalation, not healing.
Tetanus: The Shot You Shouldn't Skip
Tetanus (lockjaw) is rare but real. CDC wound guidance uses both the wound type and vaccination history: a booster is generally due after 10 years for a clean minor wound and after 5 years for a dirty or major wound. If you cannot confirm a complete vaccination series, contact a clinician promptly. The wound and your prior doses determine whether you need a vaccine, tetanus immune globulin, or both.
What a Real Wound-Care Kit Holds
You do not need a trauma kit to treat a scrape, but you need the right supplies before an emergency. Here is what we would stock, budget to serious:
| Kit | Best for | Why |
|---|---|---|
| First Aid Only 298-Piece All-Purpose Kit | Home and car | 298 pieces: gauze, bandages, antiseptic wipes, ointment, tape, ~$17 |
| Surviveware Large First Aid Kit | The kit that lives in the house | Color-coded waterproof sections keep dressings clean and findable in the dark, ~$81 |
| Adventure Medical Kits Mountain Series Hiker | Daypacks and go-bags | Trail-oriented wound care plus a printed manual; weighs about a pound, ~$34 |
| MyMedic MyFAK Pro First Aid Kit | Serious trauma | Tourniquet, hemostatic gauze, and chest seals for care far away, ~$330 |
The rule of thumb: buy the kit that matches the care you are actually prepared to perform, then add sterile gauze, saline, and an extra roll of tape; those are the items that run out first. For the saline, single-use pods beat a refilled bottle: topping off a container makes it the next contamination route. The … pack holds twelve sterile single-use rinses for about $22, so the water that touches the wound comes straight from a factory seal. Gauze touches the wound itself, so sealed packs beat an open roll shared across kits: the … is fifty sterile 4x4 sponges in easy-open envelopes for about $10, each pair sealed until you tear the wrapper. Tape is the other consumable that runs out, and a roll per kit beats sharing one: the 3M Micropore Paper Tape 1" x 10 Yards, Box of 12 is twelve 1-inch rolls for about $10, enough for the home kit, the car, and every daypack. Paper tape survives showers and lifts off without pulling skin.
Quick Recommendations
- For most households: First Aid Only 298-Piece All-Purpose Kit covers the wound-care basics at ~$17.
- For a home or car kit you can find in the dark: Surviveware Large First Aid Kit, ~$81.
- For daypacks: Adventure Medical Kits Mountain Series Hiker, ~$34, manual included.
- For severe bleeding: MyMedic MyFAK Pro First Aid Kit or a Stop the Bleed kit, plus our severe bleeding guide.
Learn the routine now (flush, dress, check twice a day) and the next cut is a ten-minute job instead of a reason to panic. A printed reference like the ACEP First Aid Manual (DK, 5th Edition) keeps the judgment calls (depth, infection signs, when stitches beat glue) on the shelf instead of in a search bar.